Maxim Manin, a recent graduate of The University of Texas at Dallas with a degree in Electrical Engineering, has had success within the 1lb division with both antweights and plastic antweights (PLANT). Maxim, from Allen Texas, placed 1st in TRC’s 2024 Texas Cup last year with his plastic antweight Eviscerator V8. The same bot also placed 2nd at a North Texas Bot Battles (NTBB) tournament last November.

He’s also competed in several other competitions in Texas and Oklahoma such as a Combat Robots of Oklahoma (CROK) tournament, The Red Dirt Rumble at Le Tourneu University in Longview, Texas, and a few other competitions. Maxim did not place at any of those tournaments, but said all were valuable learning experiences.
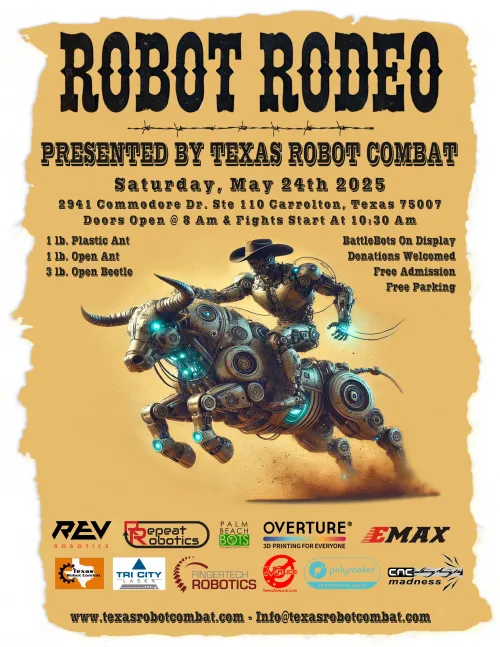
Maxim recently won the antweight division of Texas Robot Combat’s Robot Rodeo 2025 with his bot Eviscerator. He’s agreed to give us his thoughts about the tournament and combat robotics in general.
Ron Hervey: First all, thank you Maxim for doing this interview. How did you get your start with combat robotics?
Maxim Manin: I got my start through Comet Robotics, the combat robotics club at my university (University of Texas at Dallas). That’s where I built my first PLANT and really became passionate about the design, iteration, and hands-on engineering that goes into building competitive robots.
RH: Tell me about some of the bots you have built and how they have done.
MM: The bot I’ve spent the most time developing is Eviscerator (PLANT), which went through eight full iterations. Early versions consistently placed near the bottom, but over the course of a year I kept refining the design — improving weight distribution, durability, and functionality. The turning point came after a solid showing at CROK, followed by a 2nd place finish at NTBB November Battle, and finally a 1st place win at TRC’s 2024 Texas Cup. I’ve documented parts of this process on my GitHub page.
I attempted to make a plastic antweight horizontal spinner (Tombstone style), but it never lived up to expectations. It lacked the performance and durability of Eviscerator and I ended up dropping it after a poor showing in competition.
Another project was Oblivion (V2), a 4WD vertical spinner that went through major redesigns. It struggled with drive reliability — not due to signal or wiring issues, but actual failure of the drivetrain under load. I also had recurring issues with the weapon splitting apart mid-fight. While it showed some potential, I ultimately decided to shelf it for now since I do not currently have the resources to maintain both it and a new PLANT bot.
My first PLANT bot was also a 4WD vertical spinner, but it was severely underweight (about 100g below the limit) and performed poorly. CAD inefficiencies from that time still make the files frustrating to work with, so I don’t plan to revisit that one.
RH: And the bot you won with in TCR’s Robot Rodeo?
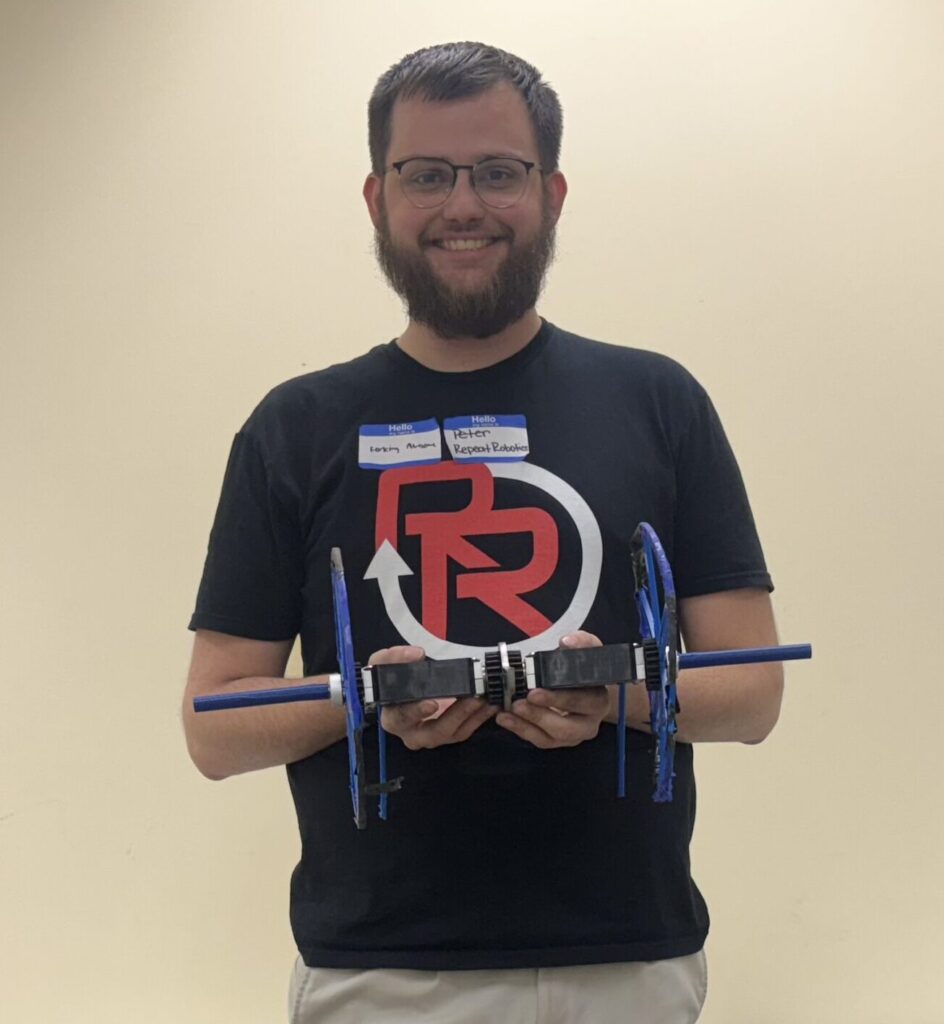
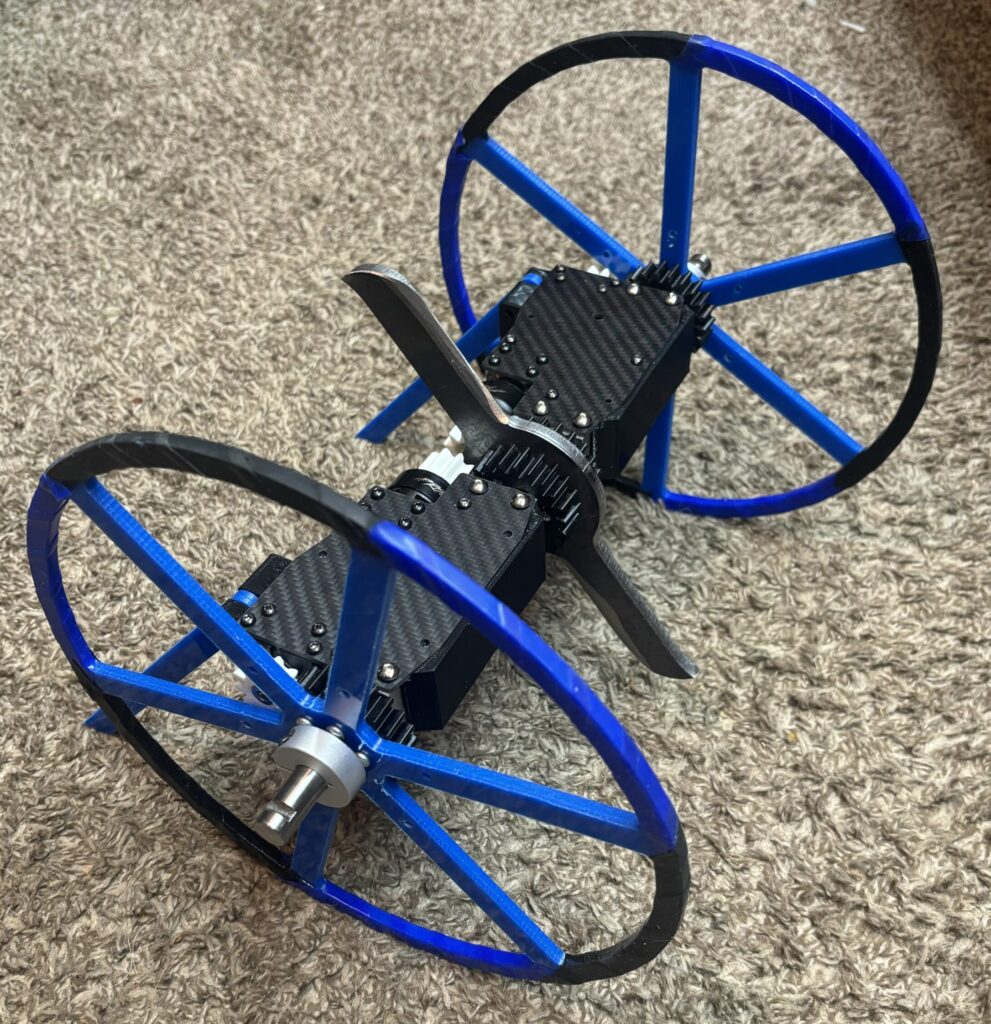
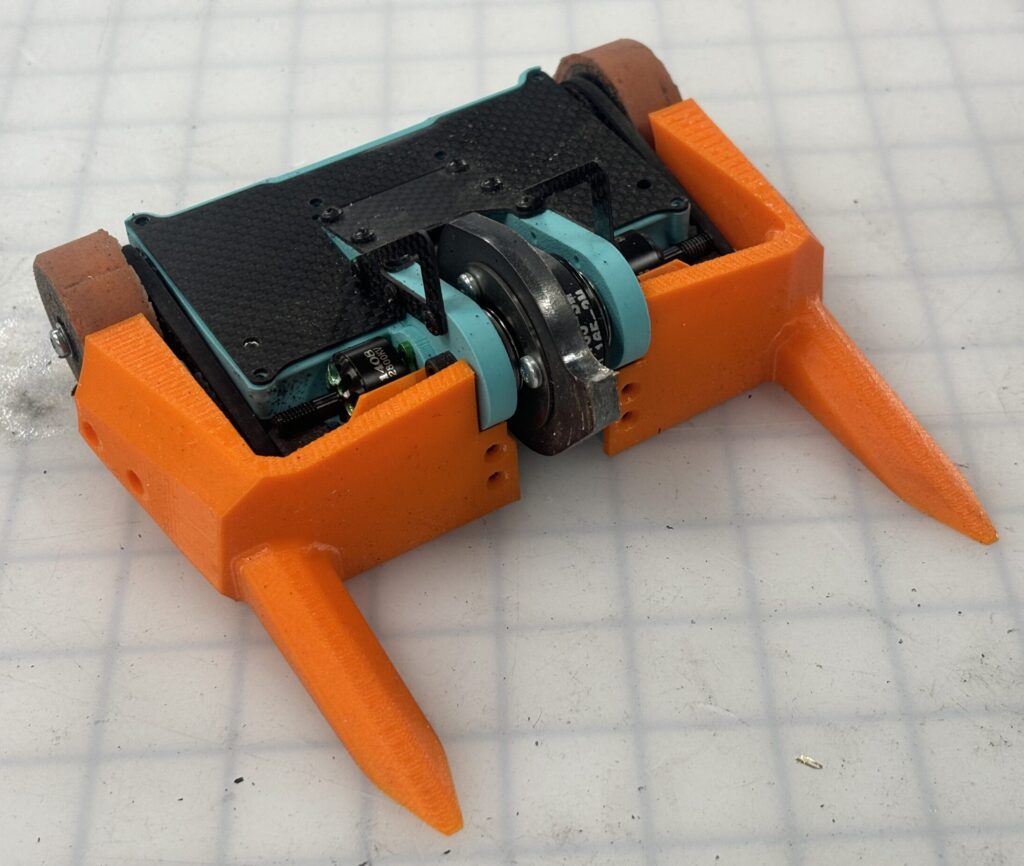
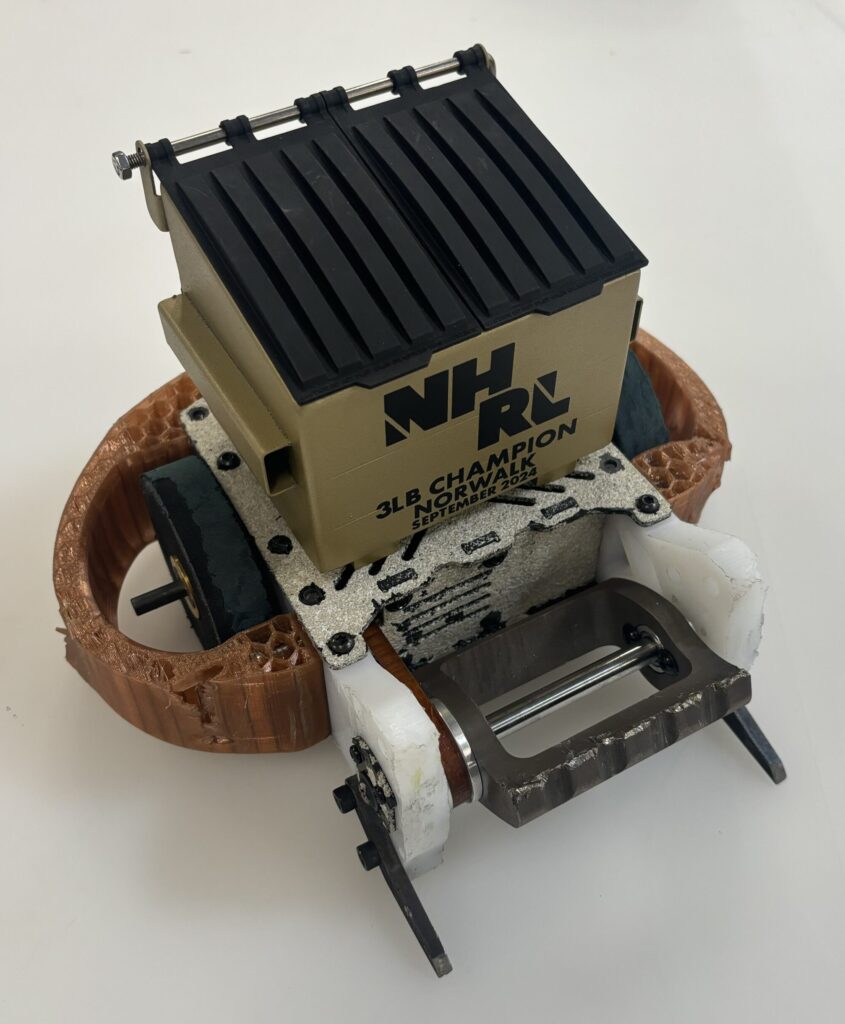
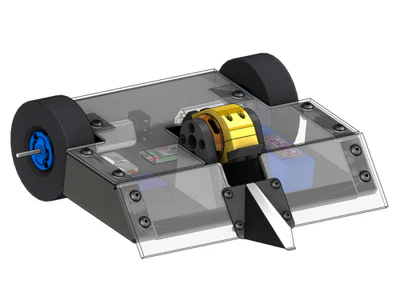
MM: My first full combat antweight bot, Eviscerator, is a 4WD overhead spinner and is heavily based on version 8 of my PLANT bot, which shares the same name. I’ve been working on it for about six months, building on everything I learned from earlier versions.

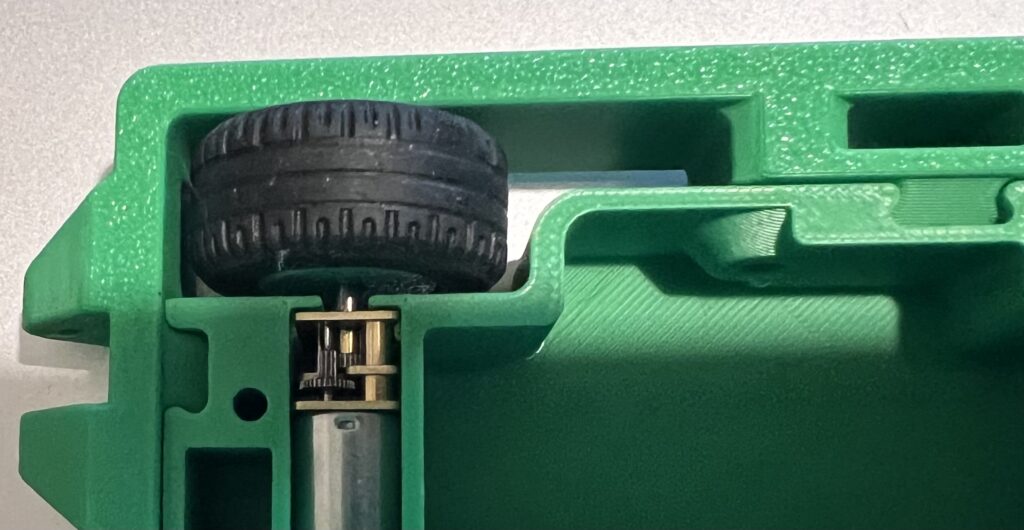
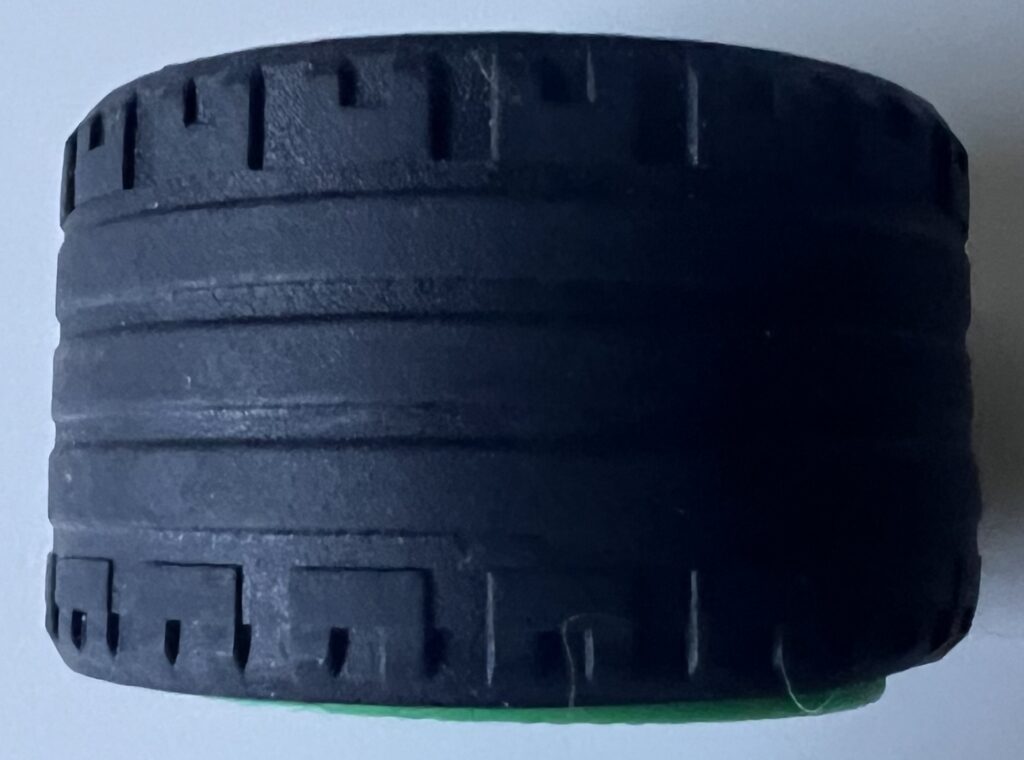
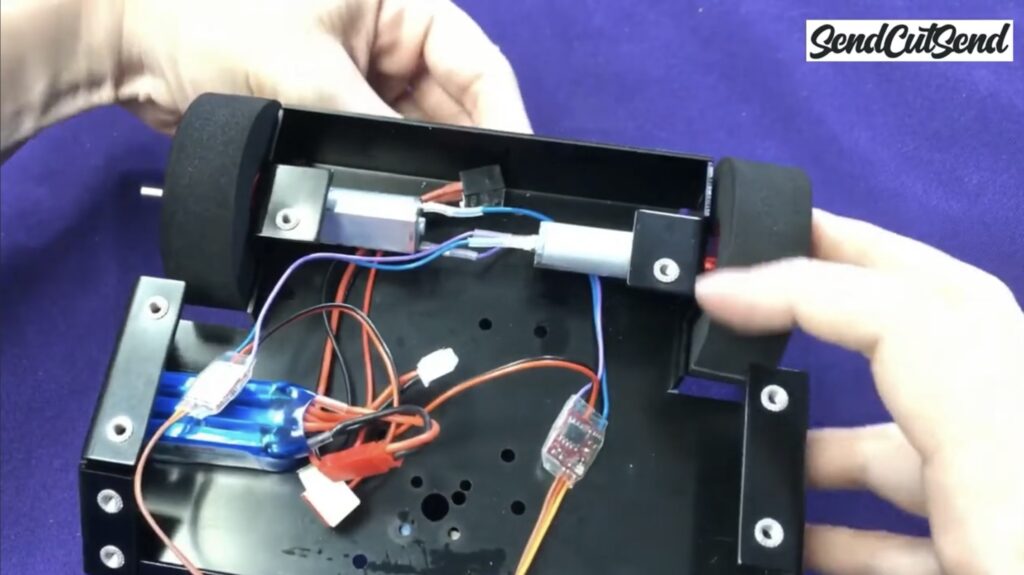
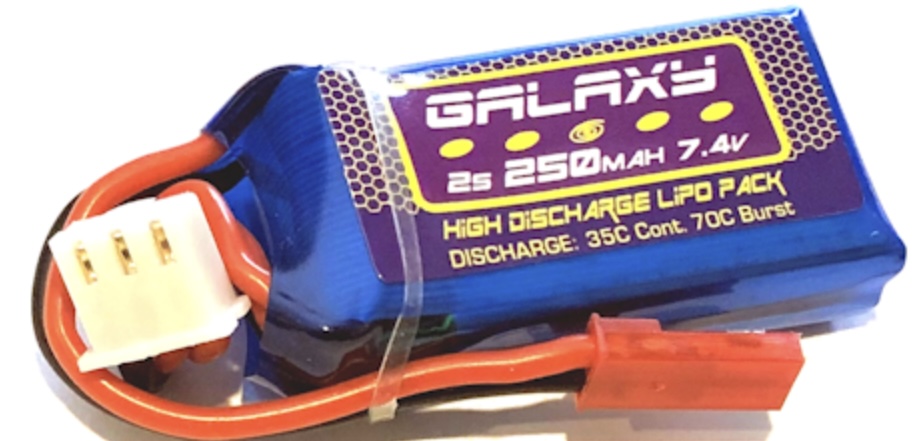
Eviscerator uses four face-mounted N20 motors for drive and very compact 17.5mm LEGO tires, which helps keep the bot’s profile down. I run two tires per drive hub to make sure I get sufficient traction. The bot runs on 4S, using two 2S LiPos (batteries) in series. Its weapon is a direct-drive system powered by a 2806.5 1300KV brushless motor. What’s unique about this motor is that most motors of that size have 3mm or 4mm internal shafts, but mine has a 6mm shaft which makes it significantly more robust and I haven’t had the shaft break despite abusing the motor quite heavily at times. I’ve also battle-hardened the motor by epoxying the magnet ring, which helps keep it intact during hard impacts.
The weapon is mounted using a 95A TPU hub, press-fit onto the motor bell and secured with a single locknut. TPU was chosen specifically for its ability to absorb impact and reduce stress transfer to the motor and is quite common for full combat. The chassis is printed in PolyMax, a high-strength PLA with excellent impact resistance, though it does get soft if heat builds up too much near the motor mounting.
Uncapped, the weapon has a tip speed that exceeds 500 mph, so I capped it on the controller to around 250 mph to prevent thermal issues and to remain within a reasonable range. I usually run it at about 180 mph tip speed during matches, which provides strong hits while keeping the bot stable and the motor relatively cool.
A unique aspect of the design is the dome on top, which acts as a passive self-righting feature. Since my motor is live-shaft, I cannot easily mount a self-righting arm or structure on top. The dome allows the bot to roll or bounce itself back upright after flips, and in many cases it can self-right from a standstill. While not perfect, it has proven functional in real matches.
Overall, the bot emphasizes compactness, simplicity (there are very few printed parts and the chassis is one piece), and controlled aggression. It is only 16.8mm tall (the weapon is around 22mm from the ground), which helps keep my center of mass as low as possible and ensures I can critically damage even the flattest opponents. Every design choice was made with durability, efficiency, and fight reliability in mind.
RH: Describe the individual matches and the type of robots you faced in each round.
MM: I fought a total of four matches instead of five, as my second opponent forfeited during the qualifiers.

In the first match, I faced a small beater bar vertical spinner. This was only the second competition for Eviscerator, and I was a little concerned about how my relatively thin ~2.1mm weapon would hold up. The only other vertical spinner I had faced in the past had bent my weapon and pulled the threads out of my motor, which was my fault as I did not have enough thread engagement and have since addressed the issue. To my surprise, Eviscerator performed exceptionally well and delivered repeated hard hits that completely mangled the opponent. It was a dominant win that gave me a lot of confidence in the new design.
My opponent forfeited before the the second match, so I advanced by default.
In match three I went up against a proven vertical spinner with a drisk-style weapon (drum with disks). It was probably the most intense fight of the event for me. I used some of my best driving to avoid their weapon and to get mine spun up before engaging. One of Eviscerator’s advantages is that the weapon acts as both offense and defense. The fight was back and forth, with both of us taking and delivering big hits. Eventually, I managed to bend their front wedge back far enough that they couldn’t drive properly or attack, which led to a tap out.

With match four I fought a Deep Six-style vertical spinner with a large diameter weapon. I had seen how powerful the bot was in earlier matches and was a bit worried that my own weapon might bend or take heavy damage. Fortunately, I was able to get a clean engagement early on and broke their weapon motor after a few big hits. That immediately disabled the bot and ended the match.
In the finals, I faced a pair of wedge bots in a 2v1 match. The final was held in the larger 8×8 beetleweight box, which had a heavily gouged floor. This gave me a lot of trouble because my forks kept catching on the damaged surface, making it difficult to drive smoothly unless I went backward. I wasn’t worried about taking damage from the wedges, but I was concerned about mobility and control. At one point, I launched a wedge and got stuck in the wooden kickplate above the arena wall. Fortunately, the event allowed a one-time unstick, and I was freed. I then knocked a wheel off one of the wedges, turning the match into a 1v1. Even with floor issues, I was able to stay aggressive and control the pace of the match, which helped seal the win.

RH: Which match was your most difficult and Why?
MM: My most difficult match by far was the third one, against a drisk-style vertical spinner. The hits in that fight were absolutely brutal. My opponent had excellent control and was constantly launching my bot across the arena, giving me almost no time to recover between impacts.
There was one hit in particular that sent Eviscerator flying so hard that it left about a one-inch gash near the top of the box wall right in front of the judges. Unfortunately, this hit was out of frame of the recording, but the impact was serious enough that I found out afterward my weapon had actually bent slightly. That was the only match in the entire event where my weapon took enough damage to visibly deform.
Even though I was able to win, it wasn’t easy. Eviscerator’s TPU hub absorbed a lot of the impact, which definitely helped reduce the strain on the weapon, but the level of aggression from my opponent forced me to stay on the defensive for much of the fight. If their front wedge hadn’t gotten bent and disabled their mobility, I can’t say for certain that I would have come out on top. It was one of those matches that really showed me how important both durability and control are, even when your weapon is doing its job.
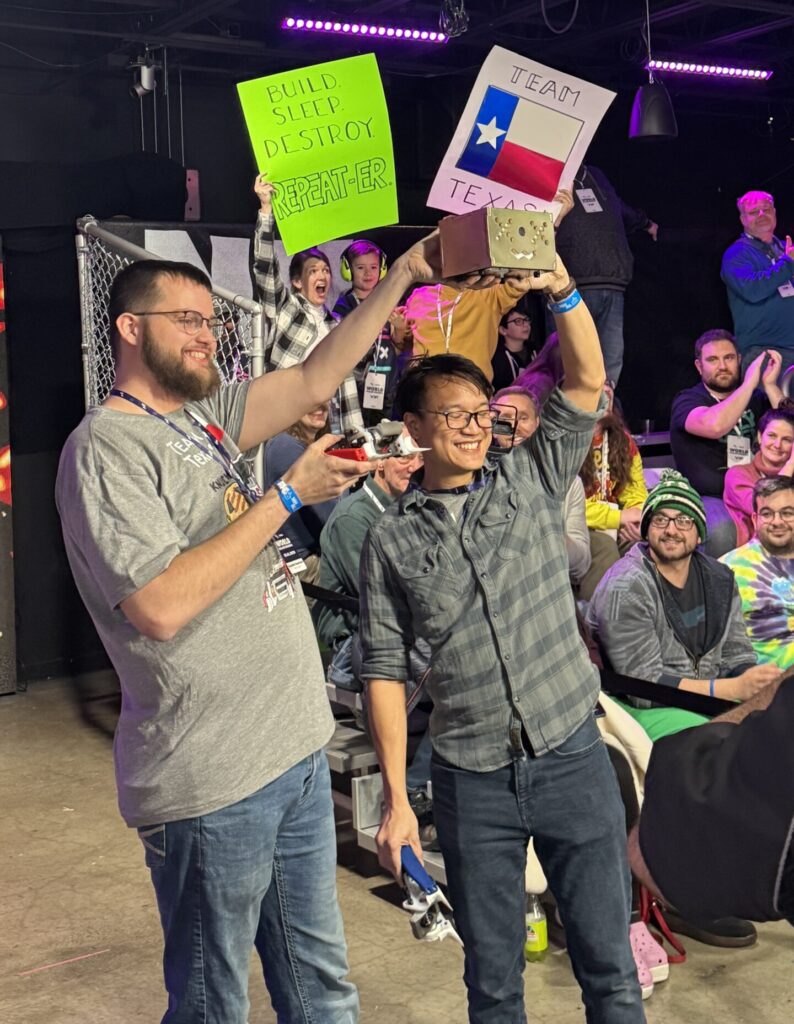
RH: What was it like actually winning the tournament?
MM: I felt a bit overwhelmed. I genuinely didn’t expect Eviscerator to perform at such a high level so early in its development. I was extremely happy knowing that all the time, effort, and late nights spent refining the design had finally paid off.
Overhead spinners are fairly uncommon in the antweight class, so I think the design stood out visually and mechanically. I also received a lot of kind words from fellow builders, which made the experience even more rewarding. Hearing that from others in the community really affirmed that the work I put in was worth it.
Winning gave me a strong sense of pride, but also a lot of motivation to keep improving and pushing the design further. It showed me that the direction I’ve been taking is working, and I’m excited to see what’s next for my bot.
RH: What was your overall impression of the tournament?
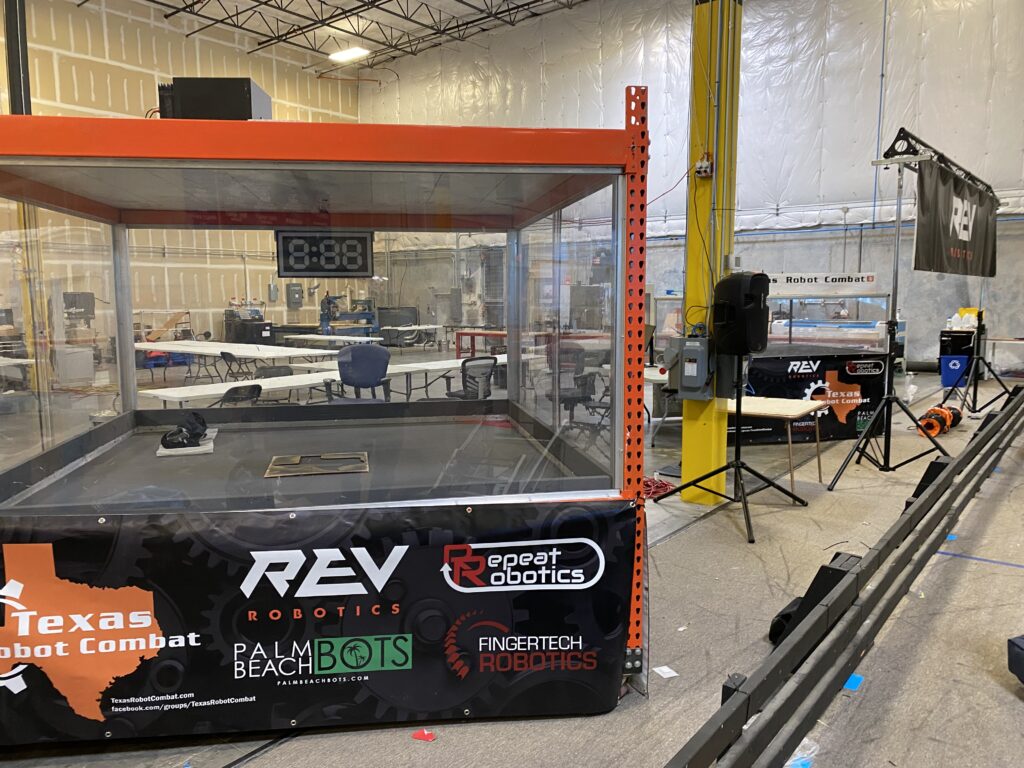
MM: Overall, I thought the tournament was run very smoothly, especially considering how large the event was. Matches flowed well, the scheduling stayed on track, and communication with the organizers was clear. The environment was competitive, and most of the matches were intense, which made the experience exciting and engaging.

That said, the viewing setup for competitors who weren’t about to fight could have been better. It was sometimes difficult to follow what was happening in the other matches unless you were close to the action. Unironically the stream was easier to see most of the time than the matches in person. Still, the level of organization and professionalism was great, and the event struck a good balance between serious competition and community spirit.
There was definitely a strong sense of sportsmanship and support among builders. Even though everyone wanted to win, people were still willing to offer advice, tools, or help when needed. It made the whole experience feel both competitive and welcoming.
RH: What’s next for you?
MM: I’m planning to attend more competitions throughout the year to continue climbing the RCE rankings. My goal is to place consistently high enough to qualify for the mid-year invitational event for top scorers in each weight class as part of the Robot Combat League (RCL).
In terms of future builds, I want to develop a 3lb version of Eviscerator to compete at NHRL. That will take a lot of redesign work since scaling it up isn’t straightforward. Eviscerator’s success partly relies on its compact chassis, which is only 16.8mm tall. Most drive options in the 3lb class don’t accommodate a form factor that small or even close, so I’ll need to rethink the drivetrain and overall layout from the ground up, as direct-driving small motors would likely end up being very costly.
I also plan to create a new plastic antweight to test out some less common designs and more complex mechanisms. I want to use it as a platform for experimenting with ideas that might be viable for combat robots, but haven’t been explored much.
RH: What is your best advice to someone just getting into combat robotics?
MM: My biggest advice is to keep iterating and not give up. When I started, the first five versions of Eviscerator were essentially complete failures, at least competitively. It wasn’t until version 6 that I started to see real progress. Every version taught me something, and I kept what worked while improving or replacing what didn’t. Sometimes you have to be willing to make big changes if you realize your current design or certain aspects might be a massive hindrance to your bot’s success.
Starting with a plastic antweight is the best way to learn. They’re affordable, low-pressure, and allow you to experiment without major risk. You’ll also gain a better understanding of material limits, which is something you can only get from firsthand experience.
Learning 3D modeling and 3D printing will take you far in this hobby. Being able to CAD and produce your own parts quickly makes a huge difference in your ability to iterate and adapt. Watching what works for others can help, but try to understand why it works before you copy it. That understanding is what allows you to innovate.
You don’t need to start with a lot of technical knowledge. If you stick with it and stay committed, you’ll learn everything you need along the way. If you run into questions that aren’t easily answered through online resources, the community is a great fallback. Discord servers like the one for NHRL are very active, and you can usually just ask your question there and get helpful responses from more experienced builders.
RH: Great interview! I’m so happy you went into such great detail because what I’m doing with the Circuitslingers website is to help those just getting started and to promote the sport. I’m sure those that read this interview can learn a lot. Again, thank you for taking the time. Good luck to you in the future tournaments. I’m sure you will do well. Hopefully I’ll run into you at a tournament in the future.
Want more tips for combat robotics electronics, construction, or tournament prep? Subscribe to my newsletter or leave your questions in the comments!
Check out more info on combat robotics in my Knowledge Base articles.